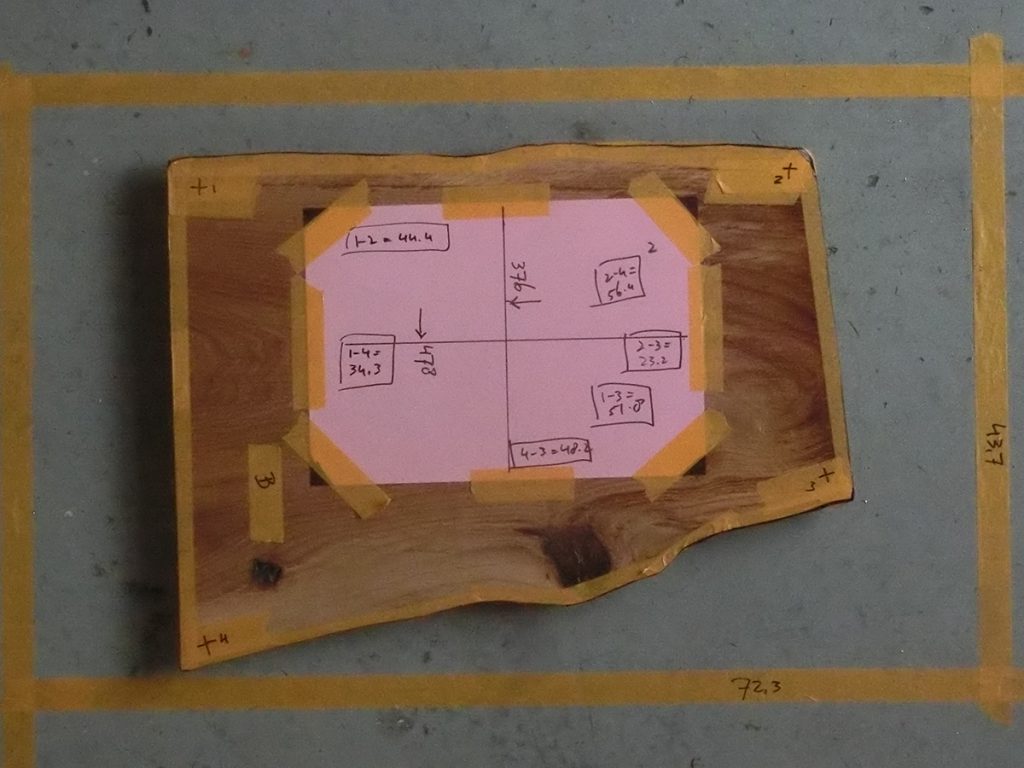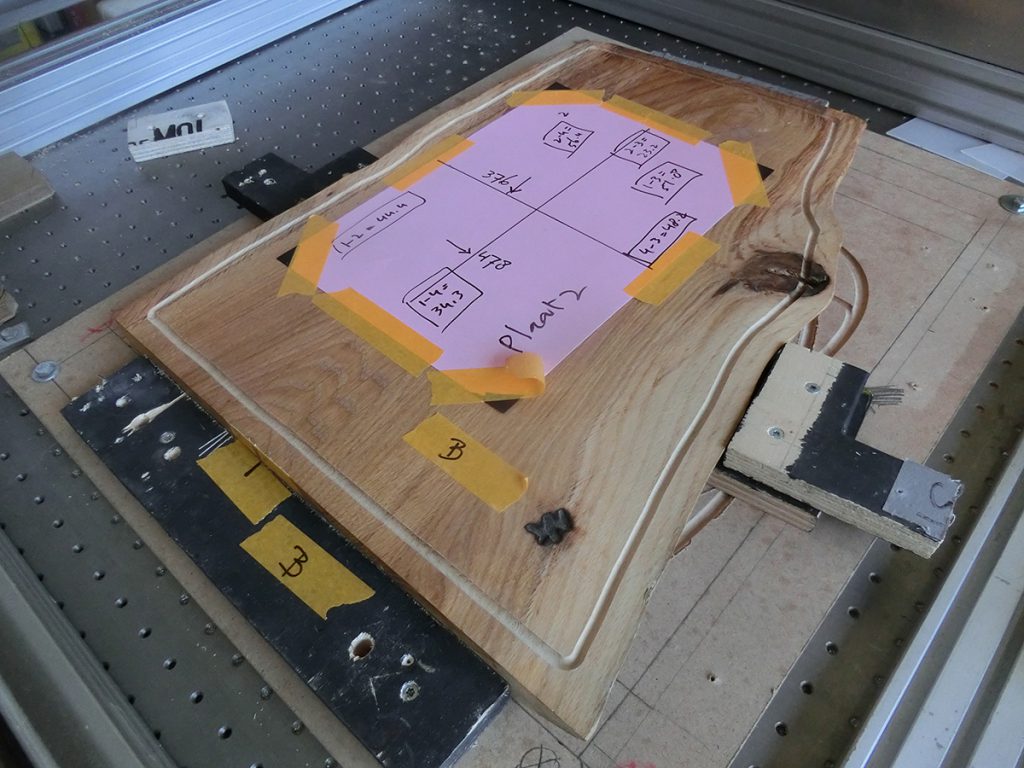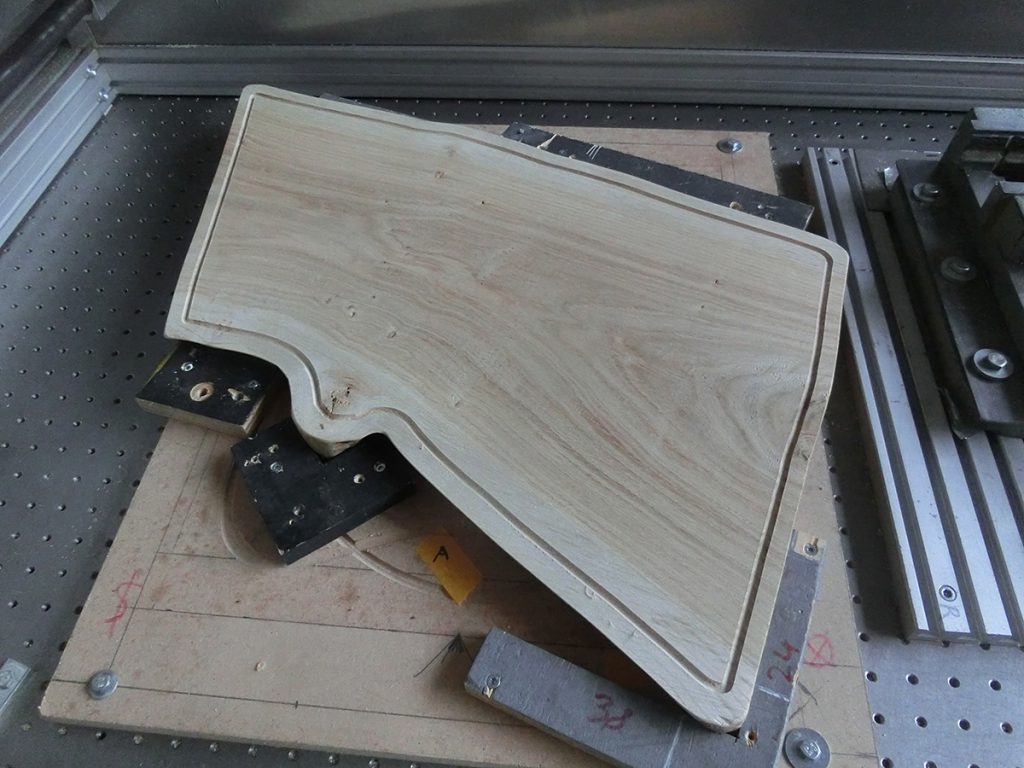
I had to make a groove in an irregularly shaped cutting board. First i made a picture including dimensions. I cropped the picture with photoshop, folloewing the rectangle on the floor to eliminate the perspective distortions. Then tracing in Rhino and scaling. The resulting line could, finally, one hour later, be milled, which was merely 5 minutes work.
A couple of tricks: painters tape around the rim, and mark the outside with black marker so you can relly see well where to trace
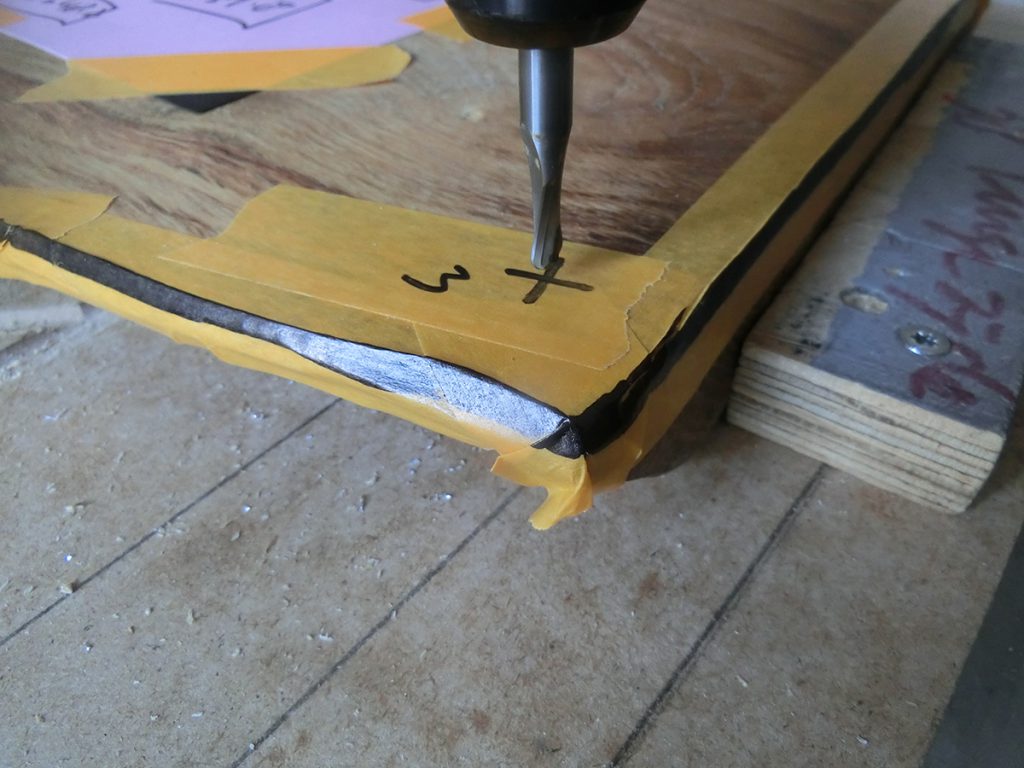
4 points as markers in the corners of the board, these points are also control points in your drawing and will serve later for controlling alignment of the mill. Measure the distances on the board and diagonals. Construct this in your cad program. Match the points on the background picture of the board under the constructed points to be sure your dimensions of your tracing will be accurate.
You will notice a scale difference due to parallax if you use floor dimensions of the rectangular outline. It will not match exactly with the scale of the board – points. Use the rectangle on the floor only to align the perspective cropping in Photoshop.
I used the constructed points to make a polygone with the router. The edge points of the polygone should match the points on the board which could be checked by moving the mill exactly on the vertices.
I milled with a ball mill 6 mm, up to 3.2 mm.